
Soldering is the secret behind every blinking LED, custom gadget, and DIY electronics project. If you’ve ever wondered how people build their own tech creations or repair broken devices, soldering is the skill that brings it all together. Whether you dream of fixing your headphones or assembling your first robot, this beginner’s guide to soldering gadgets will help you start strong and stay safe.
What Is Soldering and Why Should You Learn It?
Soldering is the process of joining two or more electronic components using a metal alloy called solder. The solder melts with heat, flows over the connection, and then cools to form a solid, reliable bond. This technique is essential in electronics, from assembling circuit boards to repairing wires.
Learning to solder opens up a world of possibilities. You can fix broken gadgets, build custom electronics, and even design your own tech inventions. Plus, it’s a fun and rewarding hands-on hobby that sharpens your problem-solving skills.
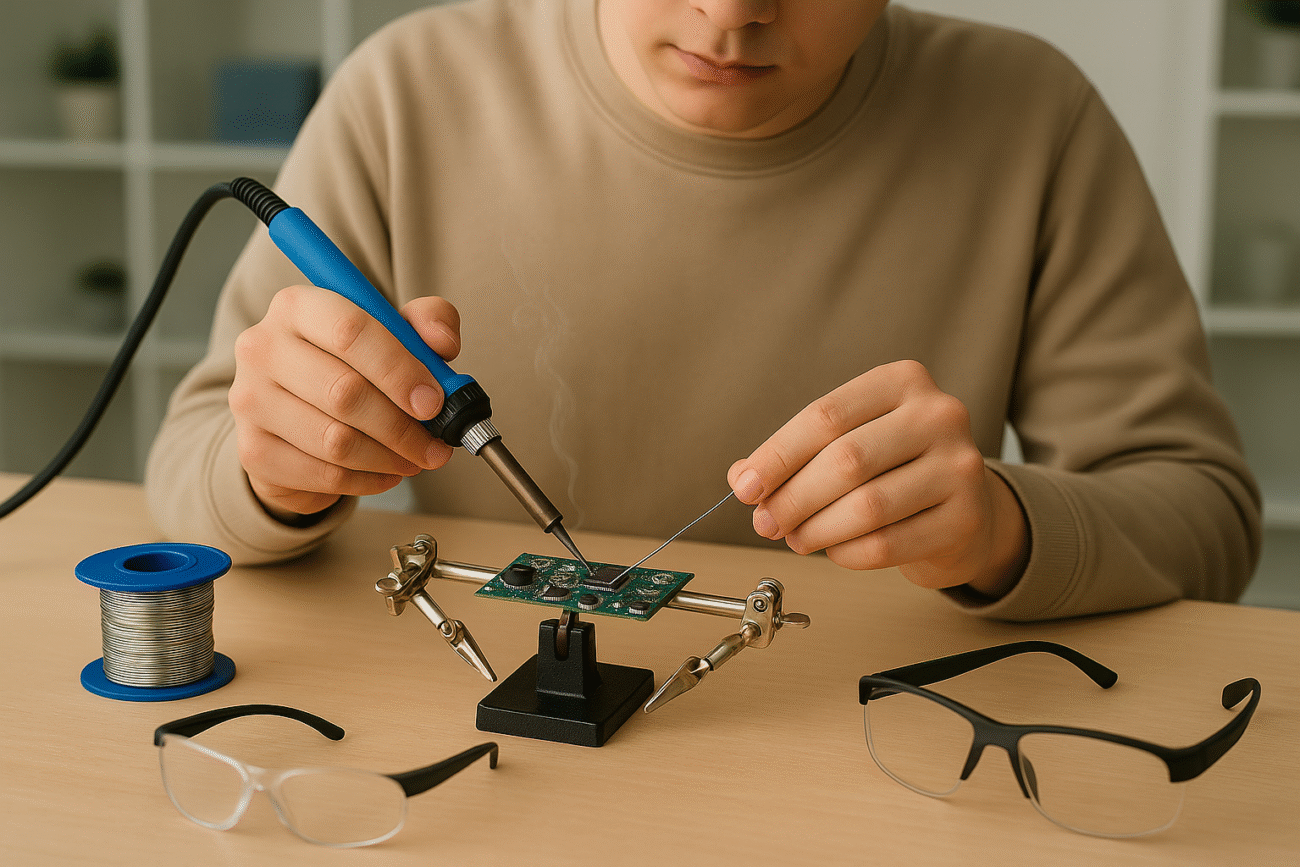
Essential Soldering Tools and Materials
Before you dive into your first project, gather the right tools. Here’s what every beginner needs:
- Soldering Iron: The heart of your toolkit. Choose a 25-60 watt iron with adjustable temperature for versatility.
- Solder: Use rosin-core solder, ideally 60/40 tin-lead or lead-free for safety.
- Soldering Iron Stand: Keeps your hot iron secure and your workspace safe.
- Sponge or Brass Tip Cleaner: For cleaning the iron’s tip between uses.
- Wire Cutters and Strippers: For prepping wires and trimming excess solder.
- Helping Hands or PCB Holder: Stabilizes your work for precision.
- Desoldering Pump or Wick: Essential for fixing mistakes or removing old solder.
- Safety Glasses: Protect your eyes from accidental splashes or fumes.
- Fume Extractor or Well-Ventilated Area: Soldering produces fumes; always work safely.
Understanding Soldering Safety
Safety should always come first. Here are key tips to keep your soldering sessions accident-free:
- Always work in a well-ventilated area to avoid inhaling fumes.
- Never touch the metal part of the soldering iron—it gets extremely hot.
- Keep your workspace tidy to prevent burns or accidents.
- Wear safety glasses to protect your eyes.
- Wash your hands after soldering, especially when using lead-based solder.
How Soldering Works: The Science Made Simple
Soldering forms both a mechanical and electrical connection. When you apply the hot iron to the joint, the solder melts and flows into the tiny gaps between components. As it cools, it hardens, locking everything in place and allowing electricity to flow smoothly.
The key to a good solder joint is heat transfer. Both the component lead and the pad on the circuit board must be heated evenly so the solder bonds to both surfaces. If only the solder melts, you’ll get a weak “cold joint” that can fail over time.
Step-by-Step Guide: Your First Solder Joint
Ready to try soldering? Follow these steps for a flawless connection:
1. Prepare Your Workspace
Set up your tools on a clean, flat surface. Plug in your soldering iron and let it heat up. Dampen your sponge or prepare your brass tip cleaner.
2. Clean the Iron’s Tip
A clean tip ensures good heat transfer. Wipe the hot tip on the damp sponge or brass cleaner until it shines.
3. Position the Components
Insert the component leads through the holes in the circuit board. Use helping hands or a PCB holder to keep everything steady.
4. Heat the Joint
Touch the tip of the soldering iron to both the lead and the pad. Wait a second or two for both to heat up.
5. Apply the Solder
Feed solder into the joint—not directly onto the iron. The solder should melt and flow around the lead and pad. Remove the solder, then the iron.
6. Inspect the Joint
A good joint looks shiny and volcano-shaped. If it’s dull or cracked, reheat and add a bit more solder.
7. Trim Excess Leads
Once the joint cools, use wire cutters to trim any extra wire sticking out.
Common Soldering Mistakes and How to Avoid Them
Everyone makes mistakes when learning. Here are a few common pitfalls and how to fix them:
- Cold Joints: Dull, weak connections. Solution: Reheat and add a touch more solder.
- Solder Bridges: Solder accidentally connects two pads. Solution: Use a desoldering pump or wick to remove the excess.
- Overheating Components: Too much heat can damage sensitive parts. Solution: Work quickly and use the right temperature.
- Dirty Tips: A dirty tip won’t transfer heat well. Solution: Clean the tip frequently.
Tips for Perfect Solder Joints Every Time
- Use the right amount of solder—just enough to cover the joint.
- Don’t rush. Allow the joint to cool naturally.
- Practice on scrap boards before tackling real projects.
- Keep your iron tip clean for consistent results.
- Double-check your work for bridges or missed connections.
Choosing the Right Soldering Iron for Beginners
Not all soldering irons are created equal. For beginners, a basic temperature-controlled soldering station is ideal. Look for features like:
- Adjustable temperature (350°C is a good starting point)
- Comfortable grip
- Replaceable tips in various shapes and sizes
- Reliable brand with good reviews
Avoid very cheap irons, as they often have poor temperature control and can make learning frustrating.
Soldering Gadgets: Simple Projects to Start With
Once you’re comfortable with basic joints, try these beginner-friendly projects:
- LED Blinker: Solder a simple circuit that makes an LED flash.
- Battery Holder Repair: Fix broken battery contacts in toys or remotes.
- Speaker Wire Connections: Solder new wires to old speakers for better sound.
- DIY Phone Charger: Assemble a basic USB charger kit.
Each project builds your skills and confidence, preparing you for more advanced electronics.
Maintaining Your Soldering Equipment
Proper care extends the life of your tools:
- Clean the iron tip after every use.
- Store your iron in its stand, never on the table.
- Replace worn-out tips as needed.
- Check cords and plugs for damage regularly.
Frequently Asked Questions About Soldering
Is soldering safe for beginners?
Yes, with basic precautions like ventilation and eye protection, soldering is safe and beginner-friendly.
Can I solder without a temperature-controlled iron?
It’s possible, but temperature control makes learning easier and helps prevent mistakes.
What’s the best solder for electronics?
Rosin-core, lead-free solder is safest for most projects, but 60/40 tin-lead is easier to work with if safety measures are followed.
How do I fix a bad solder joint?
Reheat the joint, add a little fresh solder, and let it cool. Use a desoldering pump if you need to remove excess solder.
Conclusion: Start Soldering and Unlock New Possibilities
Soldering gadgets is a practical, creative skill that opens doors to endless DIY electronics projects. With the right tools, a bit of patience, and the tips in this guide, you’ll be making solid connections in no time. Remember, every expert was once a beginner—so don’t be afraid to practice, make mistakes, and learn as you go.
Ready to bring your ideas to life? Grab your soldering iron, start your first project, and join the growing community of makers and tinkerers. Your next gadget masterpiece is just a solder joint away!